Well, our renovation celebrated a birthday sometime last month. Yes, we've been at this for over a year now. It's been a long process, but we're pretty pleased with how things are coming out.
With the kitchen cabinets and counters installed, it was time to get to work on the tongue and groove ceiling. We did have some more drywall to finish up, including the ridge beam. We decided to put a fixture for a ceiling fan in the center of the beam.
Drywalling the ridge beam
Framing the new fireplace
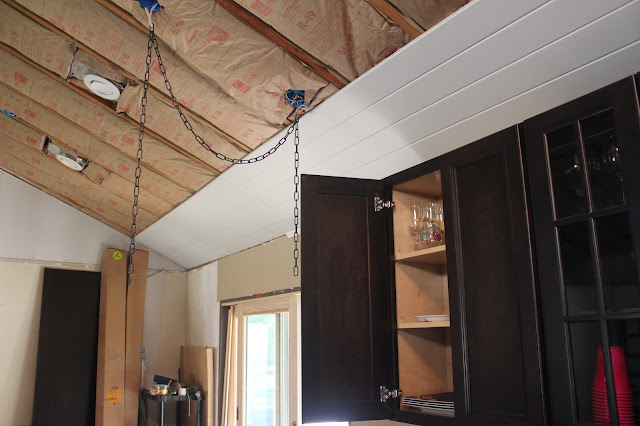
I had to install the first few rows of the tongue and groove ceiling before I hung the cabinets on the wall because I wouldn't have been able to nail the boards in with the cabinets up. I hung a chain from the pendant fixtures over the counter to see how they would hang. Unfortunately, I had to end up moving them a bit because the last cabinet door would have ended up hitting the light.
Well, that's not going to work.
Things went pretty smoothly since I had purchased a pneumatic brad nailer. It came with the set that I purchased for installing the hardwood flooring. The worst part was doing the cutouts around the light fixtures (18 of them).
Getting back into the groove
Things are starting to take shape.
When we rewired the kitchen, my brother-in-law, Andy, left pigtails under each cabinet for the under-cabinet lighting. I bought the LED units from Lowe's and installed them myself. Since two of our cabinets have glass doors, we wanted to light those, as well. I bought some LED strips and ran them along the inside front edges of the cabinets and tied them in directly to the under-cabinet lights with a couple of transformers that I mounted to the bottom of those cabinets. We really like how the lighting came out, but I'll probably install a dimmer switch.
Under-cabinet (and in-cabinet) lighting
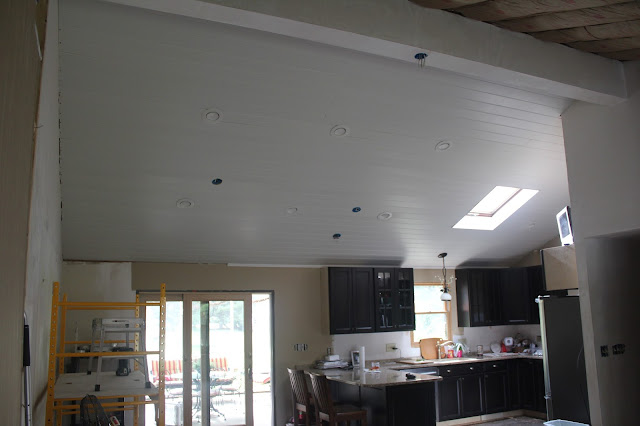
Kitchen and dining room ceiling installed!
Once we finished installing the drywall, including the beam, we arranged for Camille and his crew from Plaster & Drywall Systems, Inc. to come back in and plaster the dining area, living room, and beam. Once again, they did a great job for a more than reasonable price.
Plastering completed!
With the plastering done, it was time to move on to the living room ceiling. That went faster than the kitchen and dining room since it wasn't as big. The room is 15'-10" wide, so I was able to use full pieces of the 16-foot tongue and groove boards. No seems in the living room.
And the living room ceiling is done!
You'll also notice that the trim is installed on the kitchen and dining area side and that we have painted the window and door trim white. It's coming together. We have been trying to keep things moving along so that we can get to installing the floor. We were shooting to have done before Thanksgiving, but it will be tight.
Still need to buy and install vent hood fan and backsplash.
Trim finished on kitchen and dining area side
Skylight trimmed and painted
Ceiling fan hung
I was originally thinking of getting a white ceiling fan, but Julie convinced us to get a nice-looking, dark one that would match the cabinets and stand out a little. We bought the Hunter Willowcrest with an 18-inch down-rod. Maura thinks it might be too low, so I might switch the down-rod out to a shorter one.
We're coming into the home stretch now. We still have some painting and trim work to be done in the living room. We're looking forward to getting the flooring installed!


