
Maura decided that she didn't want to have a microwave over the stove, like we used to have, but instead go with a decorative hood with a vented blower and light. I wasn't so sure about that at first, but our designer, Julie, liked the idea and suggested that we go with a drawer microwave in the peninsula. All this adds up to more expense, but we are quite pleased with the choices we made and how they turned out.
Originally, I had purchased a super-duper Broan RMIP33 unit from Lowe's.
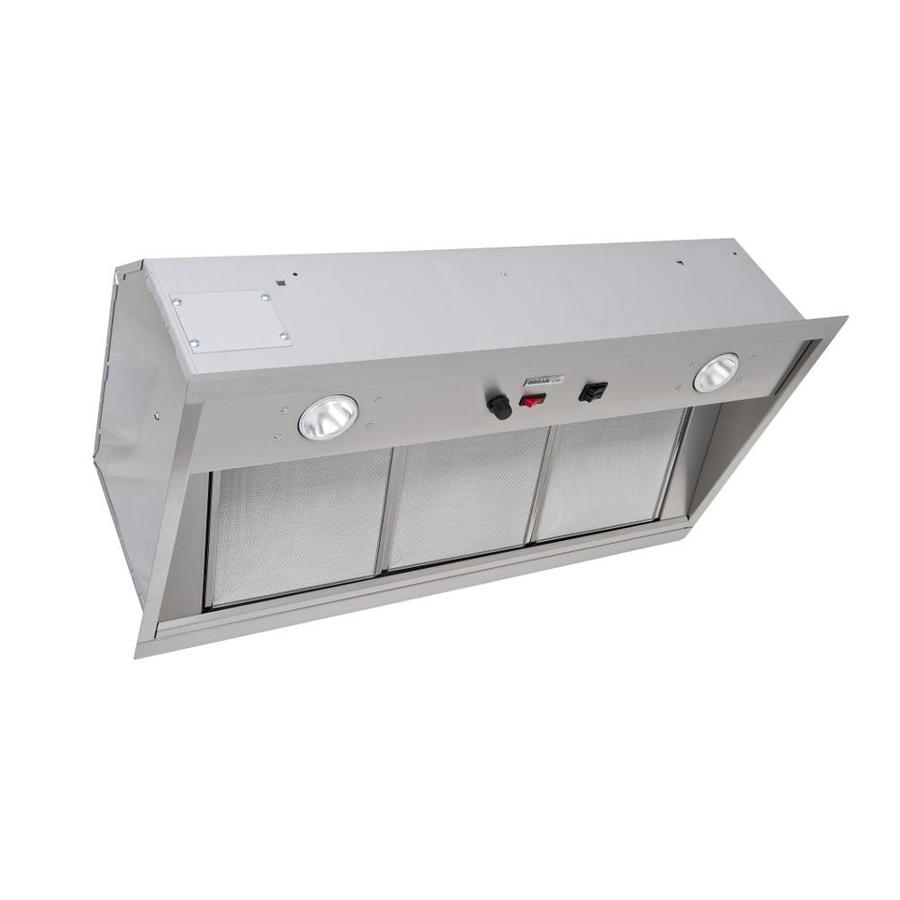
It was on the pricey side ($359), and the blower fan wasn't even included. I ended up buying an 850 CFM blower ($499?!) for it. Go big or go home, right? Oh, and then there's the liner ($149). At this point, the hood was going to cost more than the range! I started having second thoughts and figured I should do a little research before installing it. Good thing I did.
"To fulfill the local exhaust air flow requirements of modern construction standards, kitchen fans can be run intermittently (occupant-controlled) or continuously. Kitchen fans operated intermittently should have a flow rate of 100 cfm or more, and continuous fans should have a flow rate of 25 cfm. If the fan is set to run continuously and the flow rate is less than 400 cfm, the sound rating should be no more than 3 sones. Exhaust fans operating in excess of 400 cfm must be provided with makeup air systems that will automatically start and operate simultaneously with the exhaust system and provide makeup air at a rate equivalent to the exhaust."
Makeup air system?! Where would I locate this extra fan and ducting, and why would I want to pull air into my house in the middle of the winter? I decided after reading the above that I did not want to get into having to install a makeup air system. I looked at blower options for the Broan RMIP33, and the smaller single fan blower was still 550 CFM.
So I went back to Lowe's and exchanged the RMIP33 for a Whirlpool Convertible Wall-Mounted Range Hood (max blower speed of 400 CFM, and it's included!).

Nice looking unit, but we would be covering up all of it, with the exception of the part of the shroud that covers the exhaust duct over the cabinets. Since this unit is a lot smaller than the original one we picked out, we were excited to have some extra storage space above the stove. The decorative piece that matched the cabinets actually came with the door panels missing. They weren't intended to be functional doors, but I had Joe order hinges for them since I was going to be constructing a cabinet to go above the unit.
Once I drew out my design, the first step was to figure out where exactly the unit would be mounted. I had to figure out the mounting height, based on how high inside the cabinet I wanted the unit to be. Coincidentally, the arch of the glass piece of the range hood matched the arch on the face of the cabinet enclosure. Once I figured that out, I marked up the wall and then measure, cut, and mounted a sheet of thin plywood for the back of the cabinet. I also mounted a small piece below it to bring the bottom of the unit out as far as the top of it.

Next, I had to install some spacers to which I would screw the cabinet walls and hood cover.

Next, attach the cabinet walls.

Then I cut some trim pieces to cover the spaces on either side of the hood cover.

The hood unit mounted pretty easily with four screws.

Next, I had to install the duct work. I also ended up purchasing a small can of dark paint that I used to paint the wall above the glass part of the hood up to what would be the bottom of the cabinet. I decided that this would be easier than tiling up behind the top of the glass.

I had to purchase a 8-to-6-inch reducer so that I could connect to the duct work that was originally intended for a bigger unit. Things ended up fitting together pretty nicely.

I made three shelves out of plywood. The upper one pictured below was for the floor of the cabinet, and the lower one was stained dark to match the cabinets and was really just designed to hide the mounting brackets for the shelf above it if anyone looked up under the hood through the glass. The one that isn't shown below is the top for the cabinet.

Next, I needed to add a couple of strips to either side to give me something to screw into the cabinet sides and the hood cover from the inside.

Hood cover installed and cabinet roof placed on top.
